Blog
Appliqué Embroidery Digitizing Services: How the Process Works and What to Send

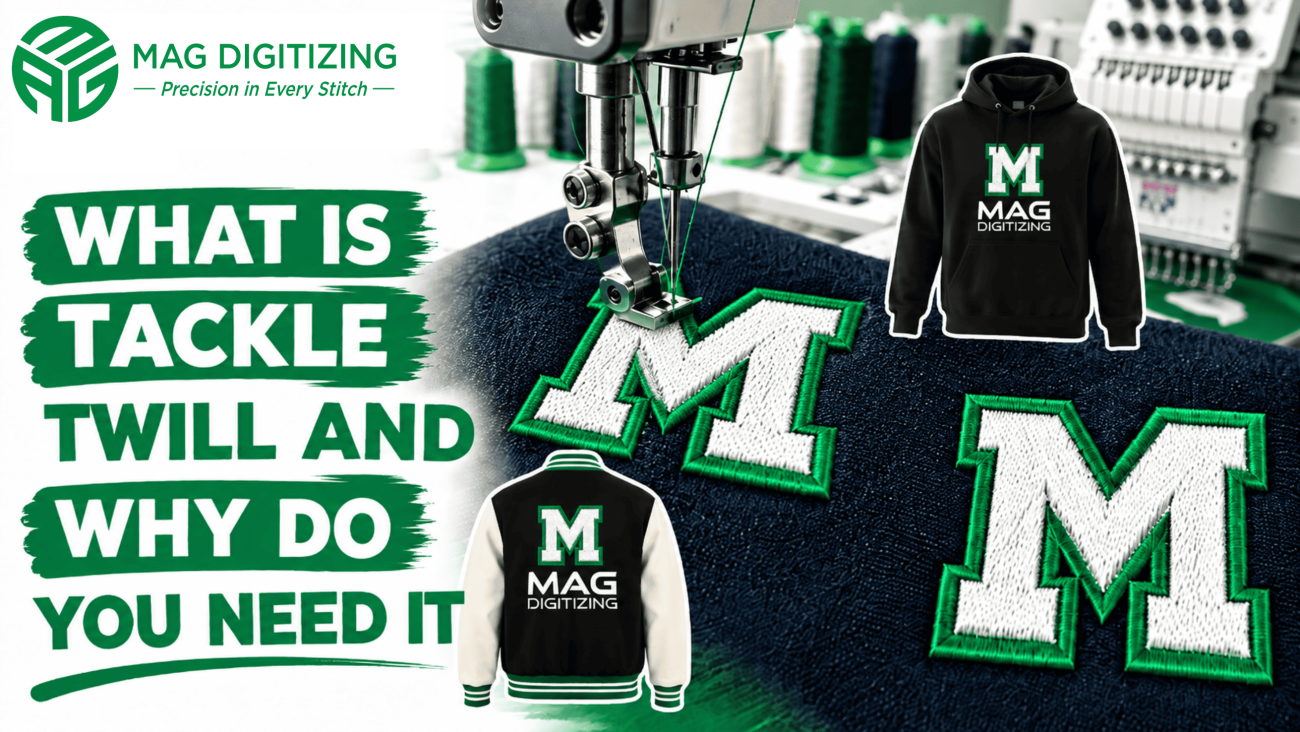
A varsity-style letter cut from twill looks sharp on a jacket. The same letter stitched with thread alone would take far longer and feel stiffer. That’s the appeal of appliqué: fabric does the heavy lifting, and thread only anchors and finishes the edges. But an appliqué file isn’t a regular design with a different look. It has its own sequence, and a poorly built one leads to frayed edges, gaps, and a lot of wasted fabric.
If you’re considering embroidery digitizing services for an appliqué job, this guide explains how the stitching actually works, which artwork suits it, and what your digitizer needs to know before starting.
What Appliqué Embroidery Is
In appliqué, a piece of fabric is attached to a garment by stitching around its edge. The machine sews a guide line first, you place the fabric over it, the machine tacks it down, you trim the excess, and a finishing border (usually satin stitch) covers the raw edge.
The result is bold, textured, and quicker to stitch than a fully filled design of the same size. It’s common on team jackets, kids’ clothing, bags, patches, and decorative home items. For a related look at fabric-based lettering, see our post on what tackle twill is and why you may need it.
The Stitch Sequence Behind an Appliqué File
A good appliqué file is built as a sequence of steps. Unlike a simple digital embroidery file that just runs from start to finish, it has to stop and wait for you at key points. Typical order:
- Placement line. A single outline shows where the fabric goes.
- Fabric placement. The operator lays the appliqué fabric over the outline.
- Tack-down stitch. The machine stitches around the fabric to hold it in place.
- Trimming. Excess fabric is cut away close to the stitching, usually while the machine is paused.
- Cover stitch. A satin border or similar edge stitch covers the raw edge and any trimmed fabric.
- Remaining details. Any other elements in the design are sewn.
Each step needs a machine stop or color change so the operator can place and trim. That’s something automatic conversion tools usually don’t plan well, and it’s one reason professional digitizing matters. Our post on professional digitizing versus auto digitizing covers the difference in more detail.
What a Digitizer Decides for You
Behind each step are choices that change how the finished piece looks and wears.
Border width
The satin border has to be wide enough to cover the raw fabric edge, but not so wide that it looks heavy. The right width depends on the fabric: loosely woven material frays more and may need a wider border than tightly woven twill or felt.
Corners and curves
Sharp inside corners are hard to cover cleanly, and very tight curves can cause stitches to bunch. A digitizer may suggest rounding a corner slightly or changing the stitch angle so the border sits evenly.
Overlap and pull
The tack-down stitch needs to fall just inside the cover stitch so no fabric slips out. Fabric and garment also pull against the stitching, so the file has to leave a little room for that. This is part of why a file built for one fabric may not work for another.
Fabrics That Work Well
Fabric choice affects the whole job, so mention it when you order.
- Twill: Tightly woven, holds a clean edge, and is a common choice for lettering.
- Felt: Doesn’t fray, which makes trimming easier, but it can look flat.
- Cotton: Works for decorative or children’s designs, though it frays more and may need extra care.
- Stretchy or very thin fabric: Harder to control and usually needs stabilizer or a different approach.
If you aren’t sure, ask your digitizer. A short conversation before the order is cheaper than re-cutting fabric after a failed sew-out.
Artwork That Suits Appliqué
Appliqué works best with simple, solid shapes.
Good fits: block letters, numbers, badges, animals with clear outlines, and logos with large color areas.
Harder fits: thin lettering, narrow strips of fabric, tiny details, and shapes with many sharp points. Small pieces are fiddly to trim and often don’t hold up in washing.
Many designs combine both: a main shape in appliqué, with smaller details in regular thread. If you want to see how finished appliqué files look, browse the appliqué designs category, or check the before-and-after examples on the MAG Digitizing homepage.
What to Send Your Digitizer
The more specific your order, the closer the first sew-out will be.
- Your best original artwork, ideally a vector or high-resolution file. If yours needs cleaning up, our vector art service can help.
- Final size in inches or millimeters
- Garment type and where the design will sit
- Appliqué fabric type (twill, felt, cotton, and so on)
- Thread and fabric colors
- Your machine’s file format
- A note on how many fabric pieces the design uses
For a fuller artwork checklist, see our guide on how to prepare your artwork for a clean stitch file. Not sure which format your machine needs? The files and formats page lists supported machines.
Where Embrilliance Digitizing Software Fits
Some embroiderers use Embrilliance digitizing software, mainly its StitchArtist modules, to create or edit their own designs, while Embrilliance Essentials is used for editing and lettering. Appliqué tools differ between programs and between versions, so check your software’s documentation before you rely on it for a complex job.
A common setup is to handle quick edits in-house and send more demanding work out. MAG Digitizing lists Embrilliance StitchArtist among the programs it works with, so the files you receive can fit how you edit them later.
Choosing Embroidery Digitizing Services in the USA for Appliqué
Appliqué sequencing is a skill of its own, so it’s worth asking a few questions before you choose a provider. Whichever digitizing services embroidery shops are on your shortlist, and among the digitizing services in USA you might compare, look for one that:
- Plans machine stops, trimming steps, and cover stitches rather than converting the artwork automatically
- Tells you if your shapes are too small or too sharp for appliqué
- Explains how revisions are handled if the test sew shows a problem
- Offers a clear money-back guarantee you can read before ordering
It also helps to know your own machine. Stops and fabric placement are easier on some setups than others, and our comparison of multi-needle and single-needle embroidery machines explains why. For general pitfalls on any job, see common embroidery digitizing mistakes and how to avoid them.
Test First, Then Run the Order
Always sew a sample on scrap garment material using the actual appliqué fabric. Check that the fabric stays flat, the cover stitch fully hides the raw edge, and the edges don’t lift after a wash. Small adjustments after a test are normal, and catching them early costs far less than correcting a full run.
Getting Appliqué Right the First Time
Appliqué saves thread and adds texture, but only when the file is built for it. Simple shapes, the right fabric, and a digitizer who plans the placement and cover steps will take care of most problems.
When you’re ready, you can order custom embroidery digitizing, request a free digitizing quote, or explore the full range of custom designs. Dependable embroidery digitizing services in the USA should help you decide whether appliqué suits your artwork before any fabric gets cut. If you’re also thinking about raised lettering, our post on 3D puff embroidery digitizing covers that style.